Lion Rampant : 'A Gentle Stroll'...more 1/72 scale Medieval Madness...

More Lion Rampant this Sunday at my local club, Darwin Tabletop Gamers.
My regular opponent, M. was happy to play Lion Rampant again, and as he's a genuinely gifted rules-guy, I really like playing with him as he's exceptional at remembering the little intricacies of the game.


The first clash - somewhat miraculously - ended with both sides losing a man. The F.Foot held their ground, they were to be slowly whittled down, but not after rallying and counter attacking the regrouping Knights. M's Knights lost the attritional contest and eventually the last man fled the battlefield.


We met at 1 o'clock, and spent a little bit of time choosing our retinues for the game. After about half an hour of chatting & choosing, the sides were ready and we started to place our troops on the table.

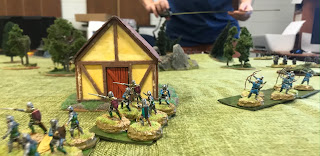
I was the English 'Defender' and had the job of rushing the dregs of my force towards the SE table edge, in order to catch up with the rest of my larger army. To do this I had to move my retinue form the NW edge to the SE edge. You can see an old dis-used castle marking the exit area.
There were various obstacles in my way. Including of course, M.s French.
I moved out from the NW, it took a few activations to assemble every unit.


M. moved some of his force from the SW edge to meet me.
He had some Men-at Arms, a Fierce Foot unit and a small band of Bidowers with spears. After a bit of faffing around, I finally managed to move my own Bidowers into a skirmishing line to try to harass his French Fierce Foot and Bidowers (with Shields).
First blood went to my Archers however, and they managed to kill off one of M's Fierce Foot at a distance, causing him to fall back.


My other Foot Yeoman and Fierce Foot unit moved past the small hamlet towards the woods and ruins. For most of the game I tried to shepard my Archers away from any potential close combat situations...they're far too brittle for any of that kind of contact.


By this time, M had also moved in two quite deadly units from the NE table edge. A unit of Mounted Men-at-Arms and a unit of Crossbowmen. Once these units were activated, I knew they would be devastating.

I had to move my units as fast as I could to escape. My Mounted Sargeants speared off into the lead to try to draw away the twin threats of the Knights and Crossbowmen.

This unit was easy to activate and quick to move, I attempted to out flank and perhaps draw away the Crossbowmen from my main thrust, but M. didn't fall for it.
Eventually, I ran these guys off the table edge for easy points. Not very chivalrous I know...but...yeah..no excuses..sometimes you've just gotta run like hell and choose another day to die.
This just left the main element of my retinue. I decided to attack aggressively and thrust my way into the Knights and Crossbowmen, rather than evading them.

Eventually my main element got too close enough and too juicy enough of a target for M to ignore. He moved his Mounted Knights into action.

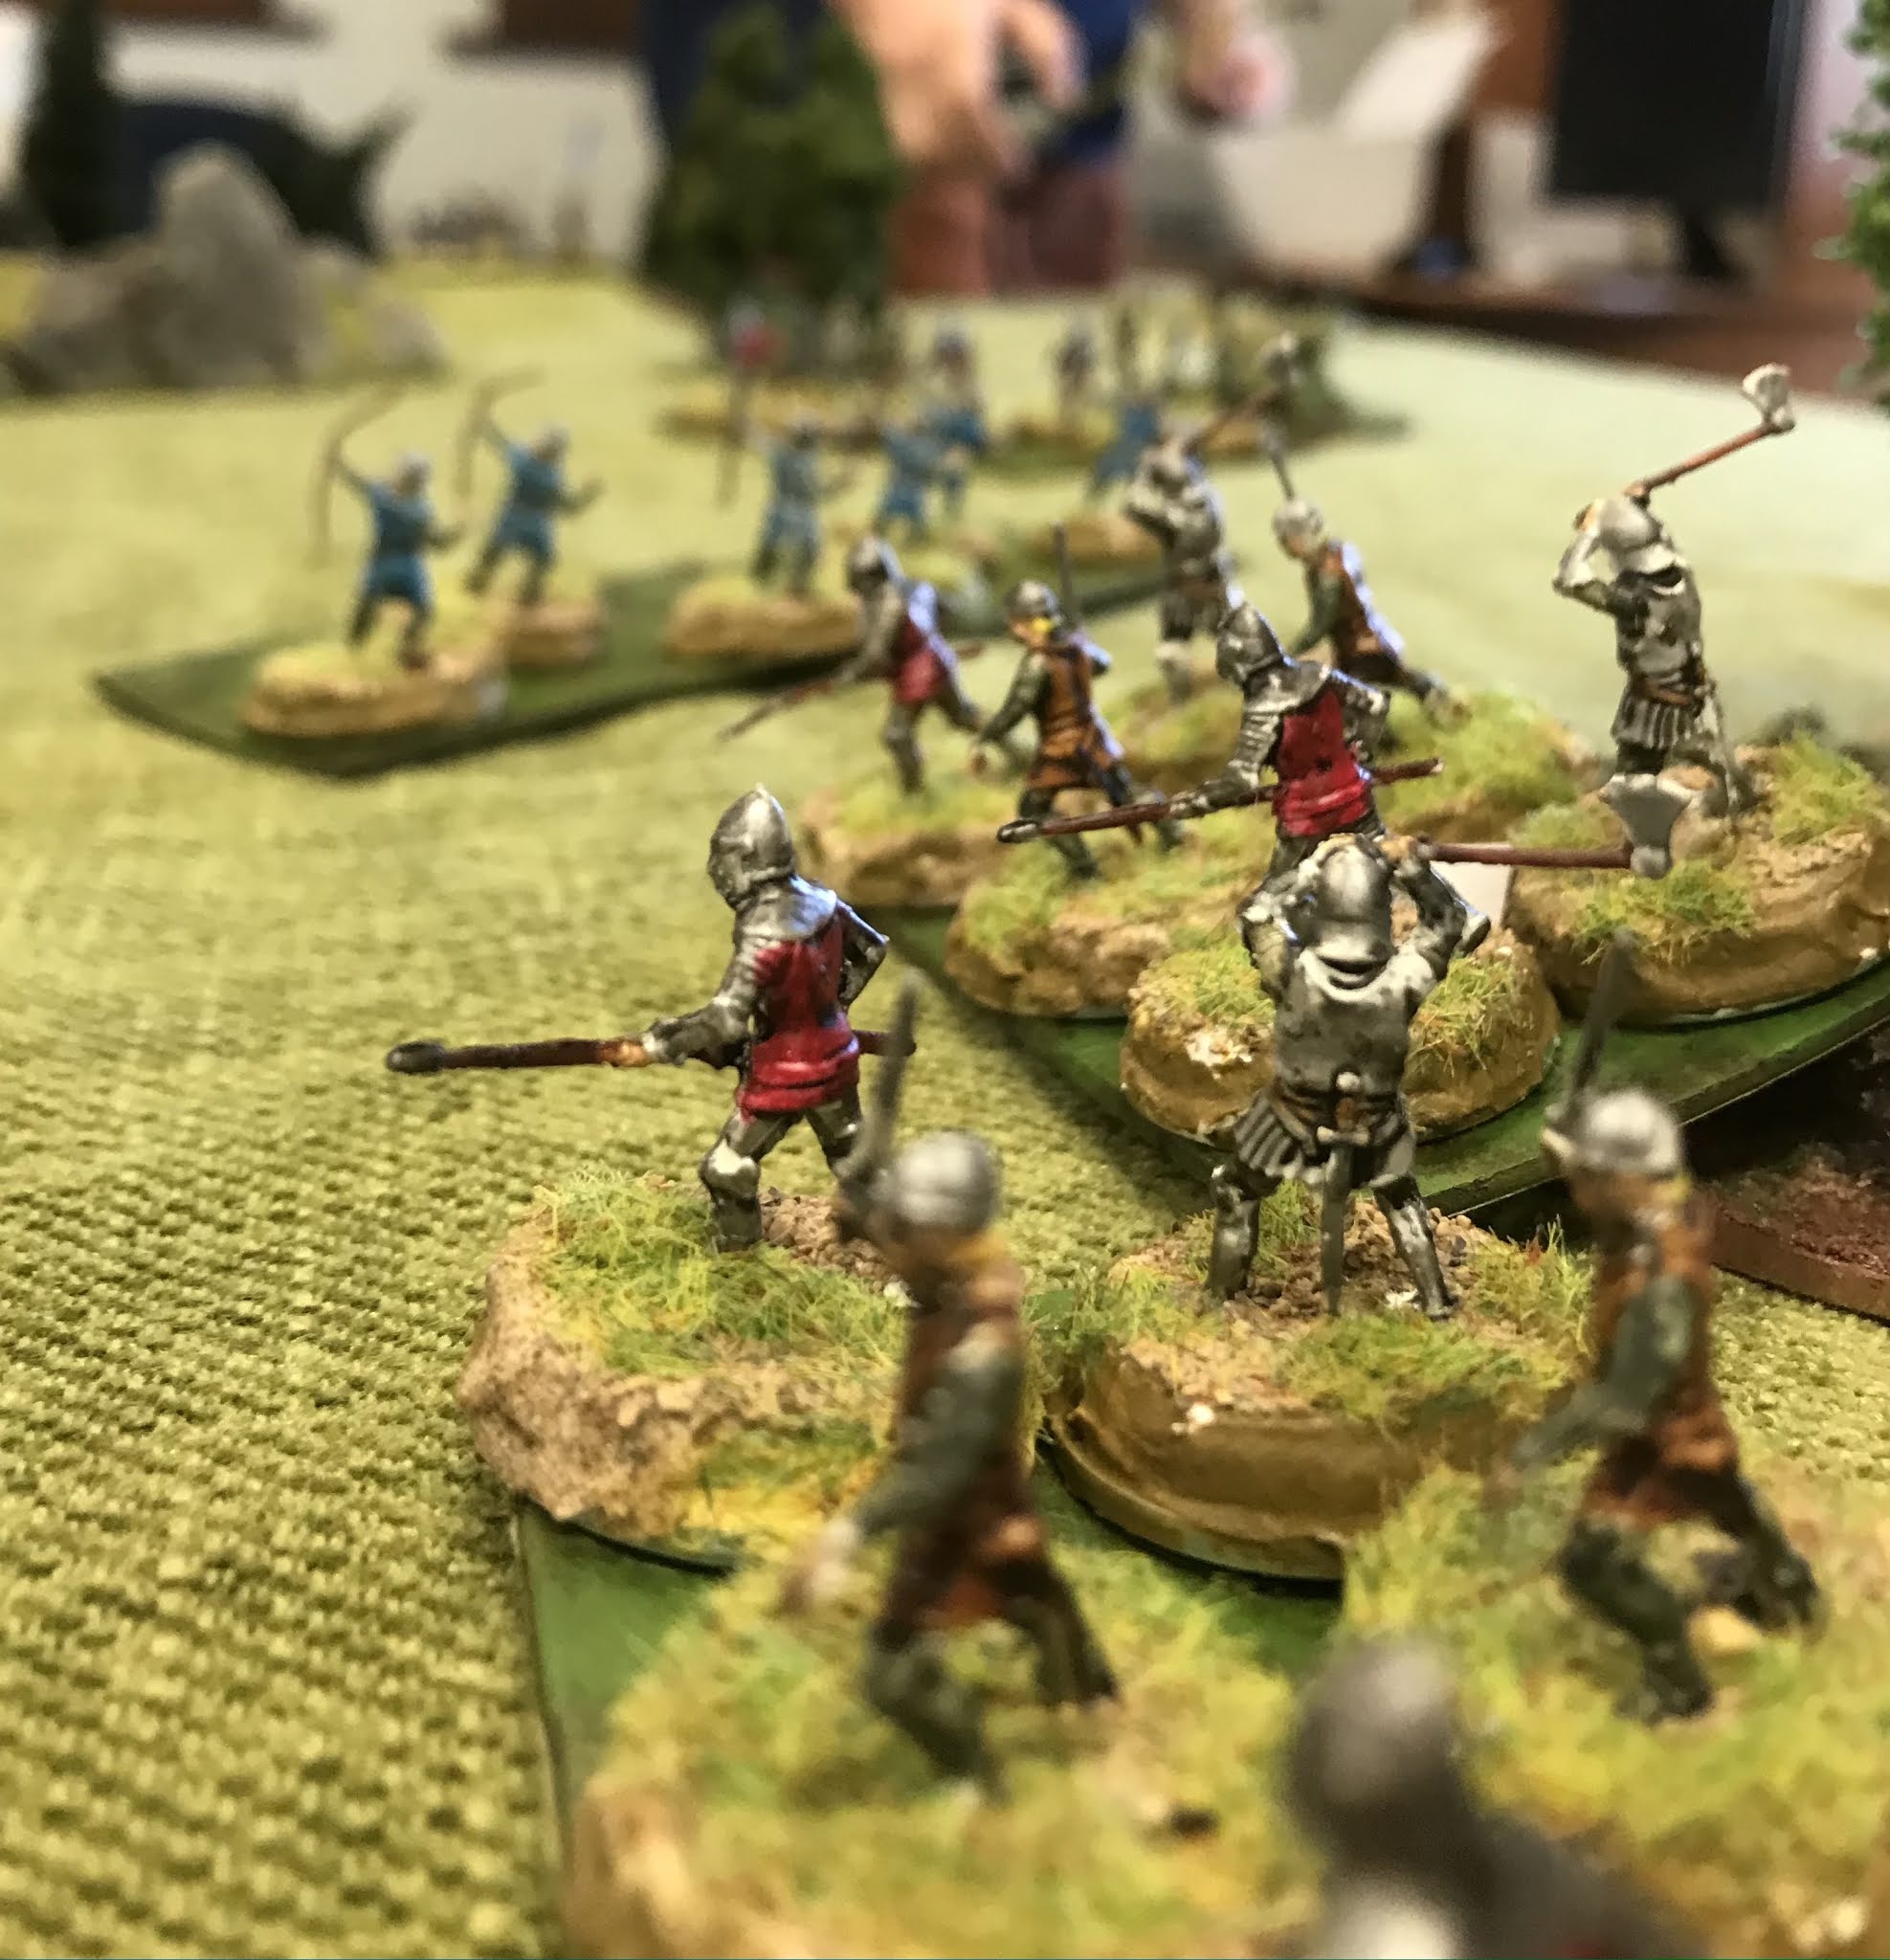
After a bit of twisting and turning, M's mounted Knights were lured into a Wild Charge against my Fierce Foot.
The ensuing clash blunted both sides, I knew it was going to be devastating for my F.Foot, as they are only really impactful on the attack activations, but they did a lot better than expected...


The French had some pay back in the form of a devastating attack by the Crossbowmen. Even the meagre cover provided by some woods couldn't save them as they were slaughtered, battered and forced to flee.

My Southern Flank was exposed by this stage of the contest.
I had used my bidowers to duck, weave & harass M.s units..not to much effect if I'm honest, but they did draw them away from my main thrust.
His own Fierce Foot were chocolate soldiers and melted quickly away...but his Men-at-Arms, whilst ponderous, swatted my bidowers without any dramas...once they caught up with them of course...


But my attempts at distraction had paid dividends..by tying up M's heavy infantry, I had managed to slip two units of foot - my Men-at-Arms and Foot Yeoman - through the gap. They moved quickly to enable their escape. M. tried to catch up, but are either too far behind and couldn't organise themselves efficiently enough...
I moved my units closer and closer to escape.
Some of my Foot Sergeants were picked off by M's crossbowmen, but either they held their nerve or they were too feverish with fear to stop. I moved them off the table to their escape and some victory points.
My Men-at-Arms on the Northern flank however, were inflicted with some kind of bloodlust for their fallen comrades, and they turned their attention to the Crossbowmen and quickly routed them....

The game ended at about 4 o'clock, once I had moved my Men-at-Arms and Foot Sergeants off the board....we called a halt to the game, because we both conceded that my Archers were in range of exiting as well.
Roughly two and half hours. After tallying points, the English were deemed the Victors!
I had managed to exit the majority of my units off the board, losing my Fierce Foot and Biddowers.
M. had lost his Fierce Foot, Mounted Knights (Men-at-Arms) and his Crossbowmen.
Typically, we fielded a bunch of causal questions from random players about the game. Historical games, especially with the pageantry of Knights and Horses always seem to attract attention. Plus, we're always carrying on like ding-bats when we play.
Good times.


Comments